The Most Intuitive Software
for Executive Search

We understand Search
With over 20 years of international headhunting experience, we created Kiwano to be the most intuitive and modern platform dedicated to leadership search. Not a generic ATS. We focus on the needs that matter most to boutique search firms in Europe :
- Precision sourcing & direct approach
- Premium client reporting
- Stronger long-term relationships
Intuitive by Design
Because Kiwano was built by industry experts, we know the hassle of complex tools and the low motivation to use them. Dive into a world of simplicity with powerful features at your fingertips.
Ready to save time ?
Automate, Amplify, Simplify
the way you search
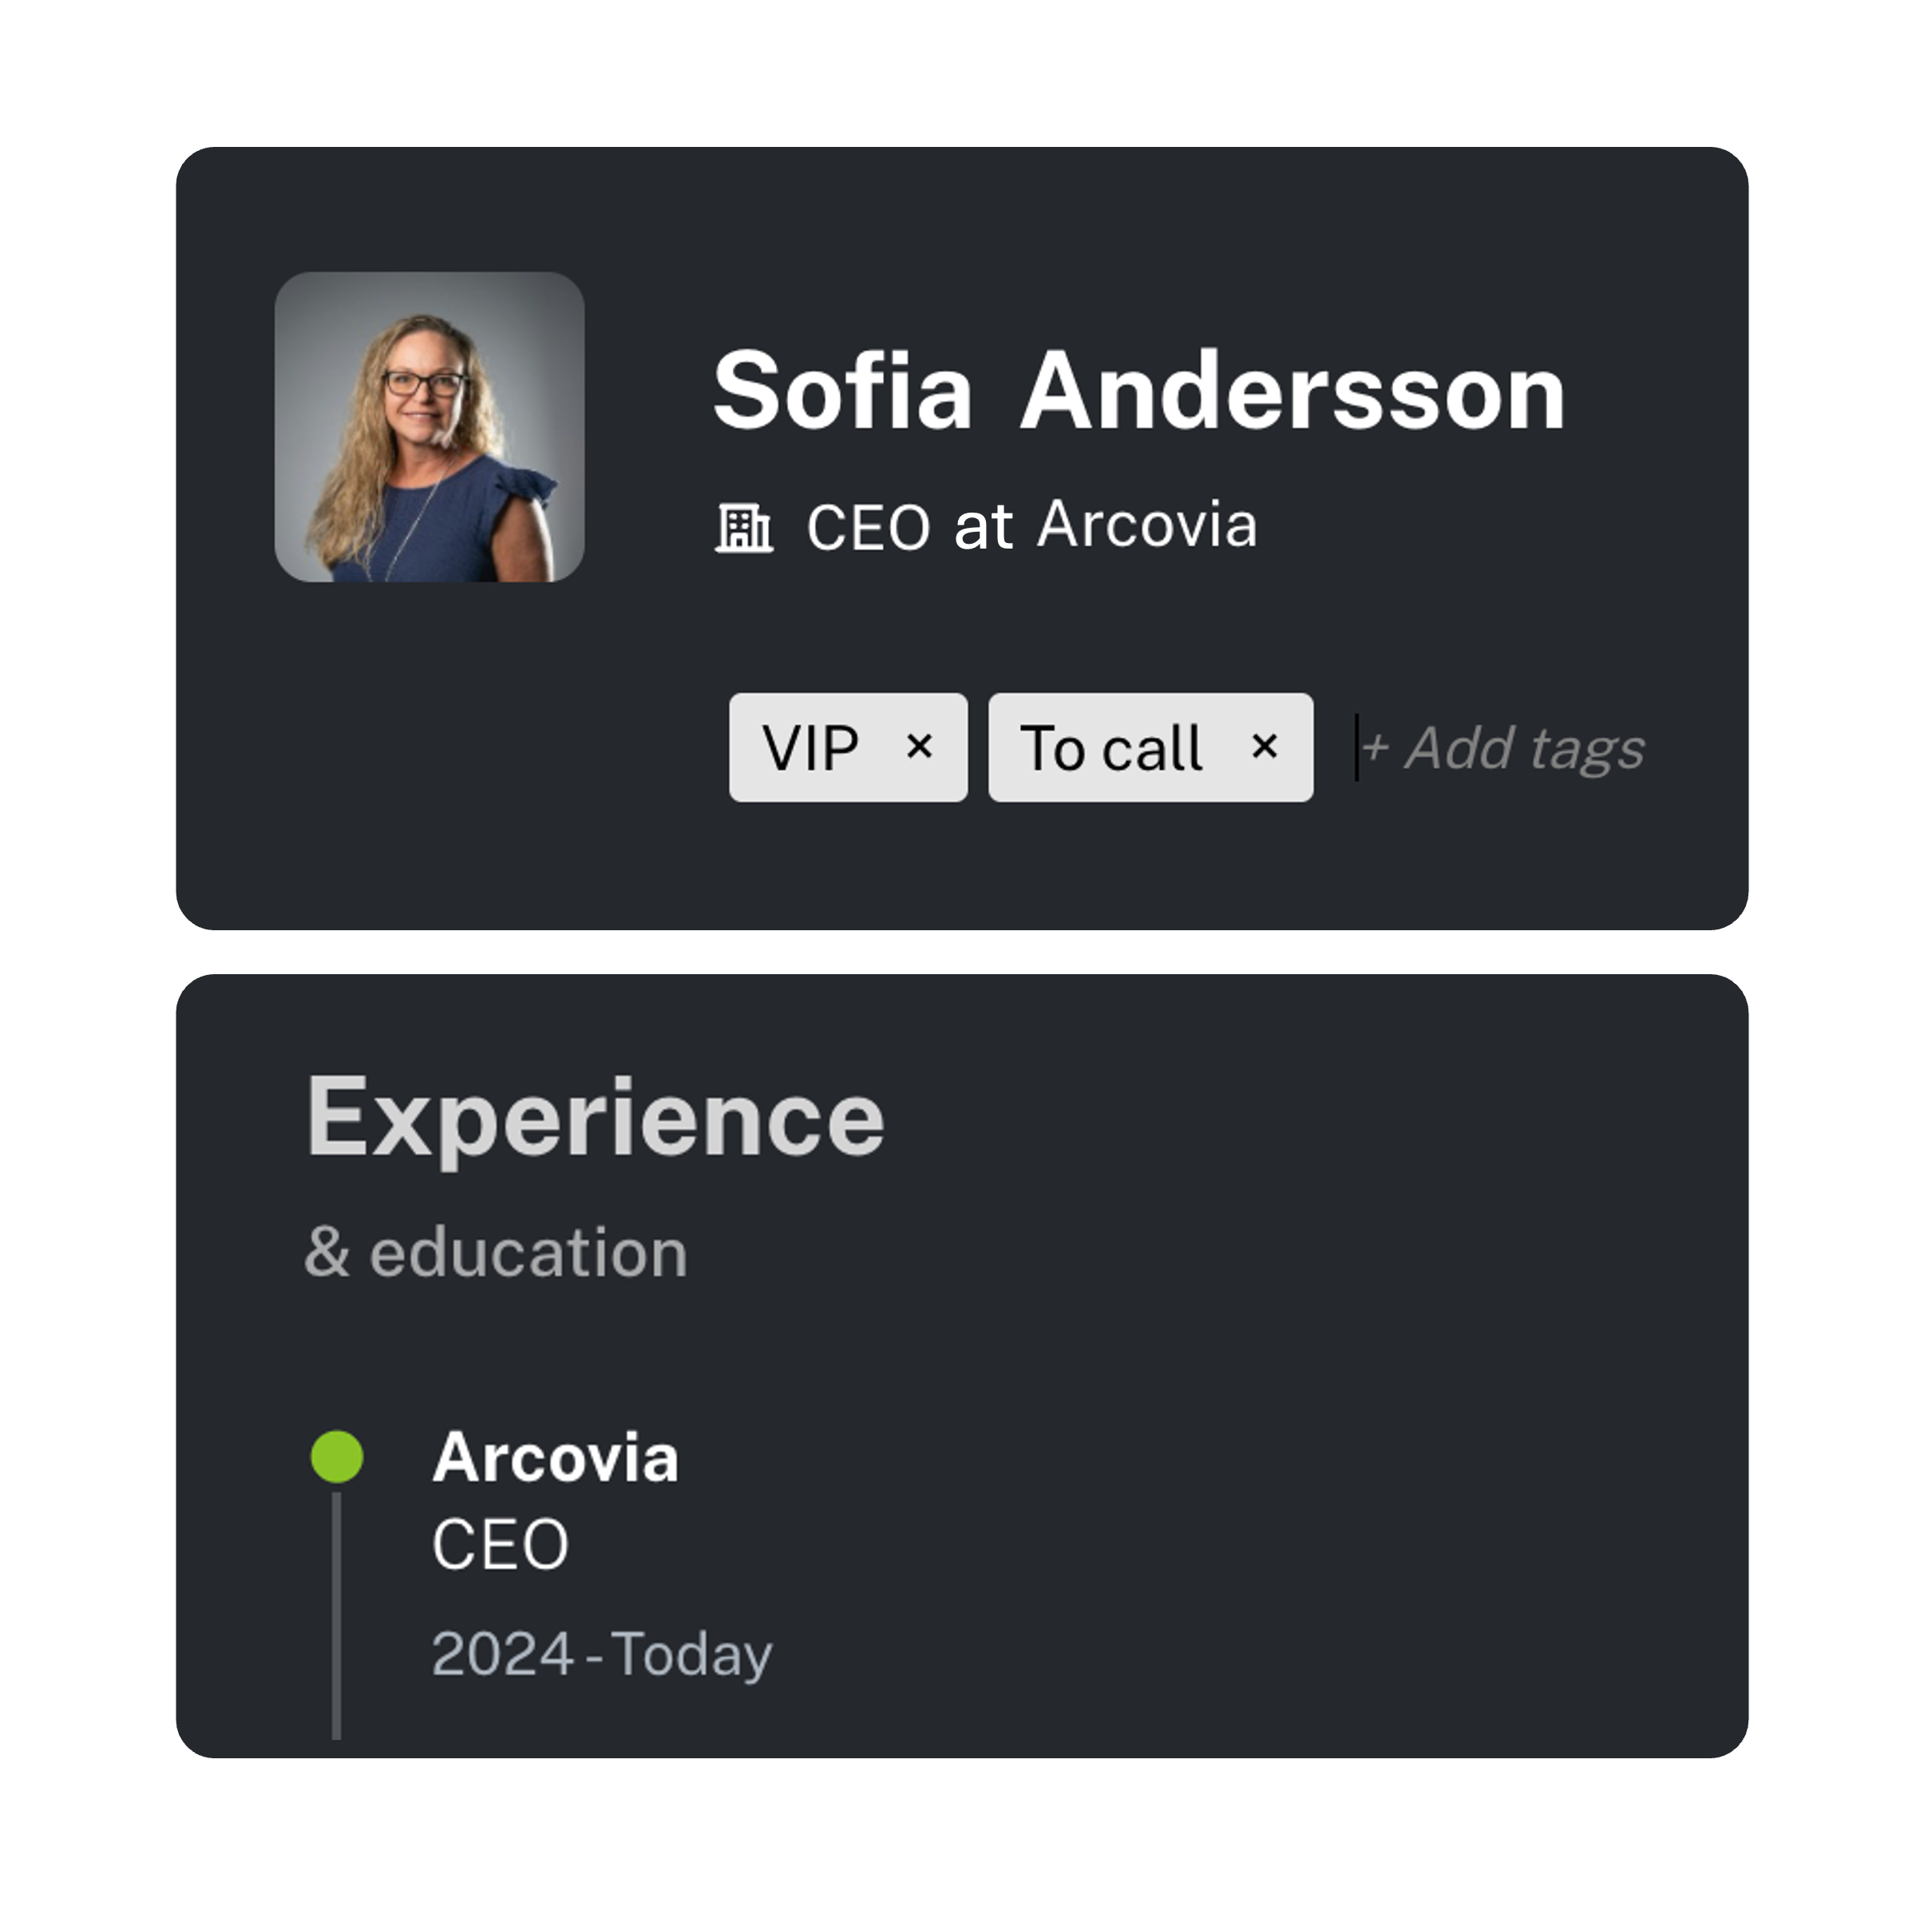
Organise your workflow
Reduce admin hours: Manage profiles, clients, projects, files, tasks and invoices in one streamlined workspace.
Custom experience: Create your own status list, tags, collaboration or AI settings to fit your operations.
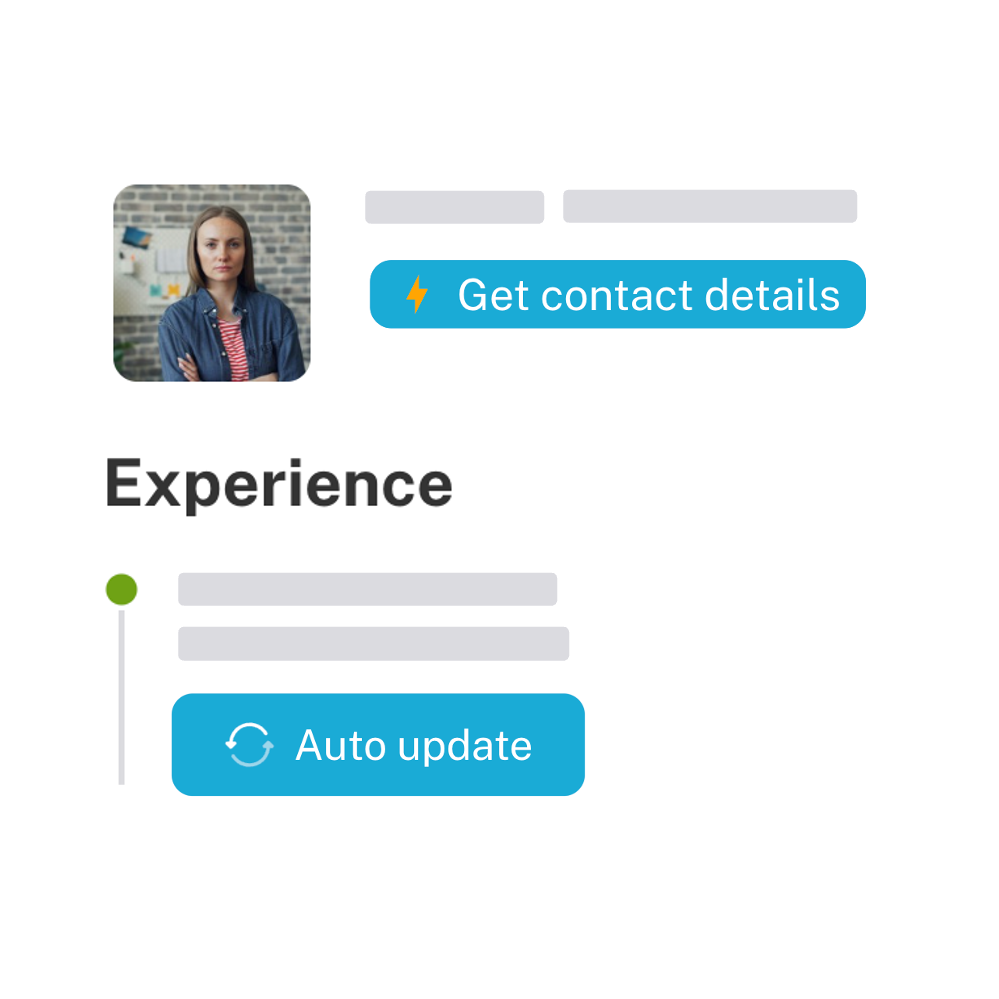
Grow your network
Powerful automations: Your database is your most valuable asset. But managing it manually is a pain. Kiwano finds contact details, updates profiles, imports new ones instantly and surfaces similar candidates for every assignment.

Collaborate
With your team: Work with your colleagues in a natural way. Decide who can see what and when.
With clients: For each assignment, show your client the progress and the candidates you're working on in the Client Portal. Get notified when they comment on a profile, to keep everyone in the loop. Or export a customizable progress report in seconds.

Track your sales
Automation: Upload or send your invoices to Kiwano and let AI parse them automatically.
Tracking: Track revenue in one click and highlight your top clients over the last 12 months.
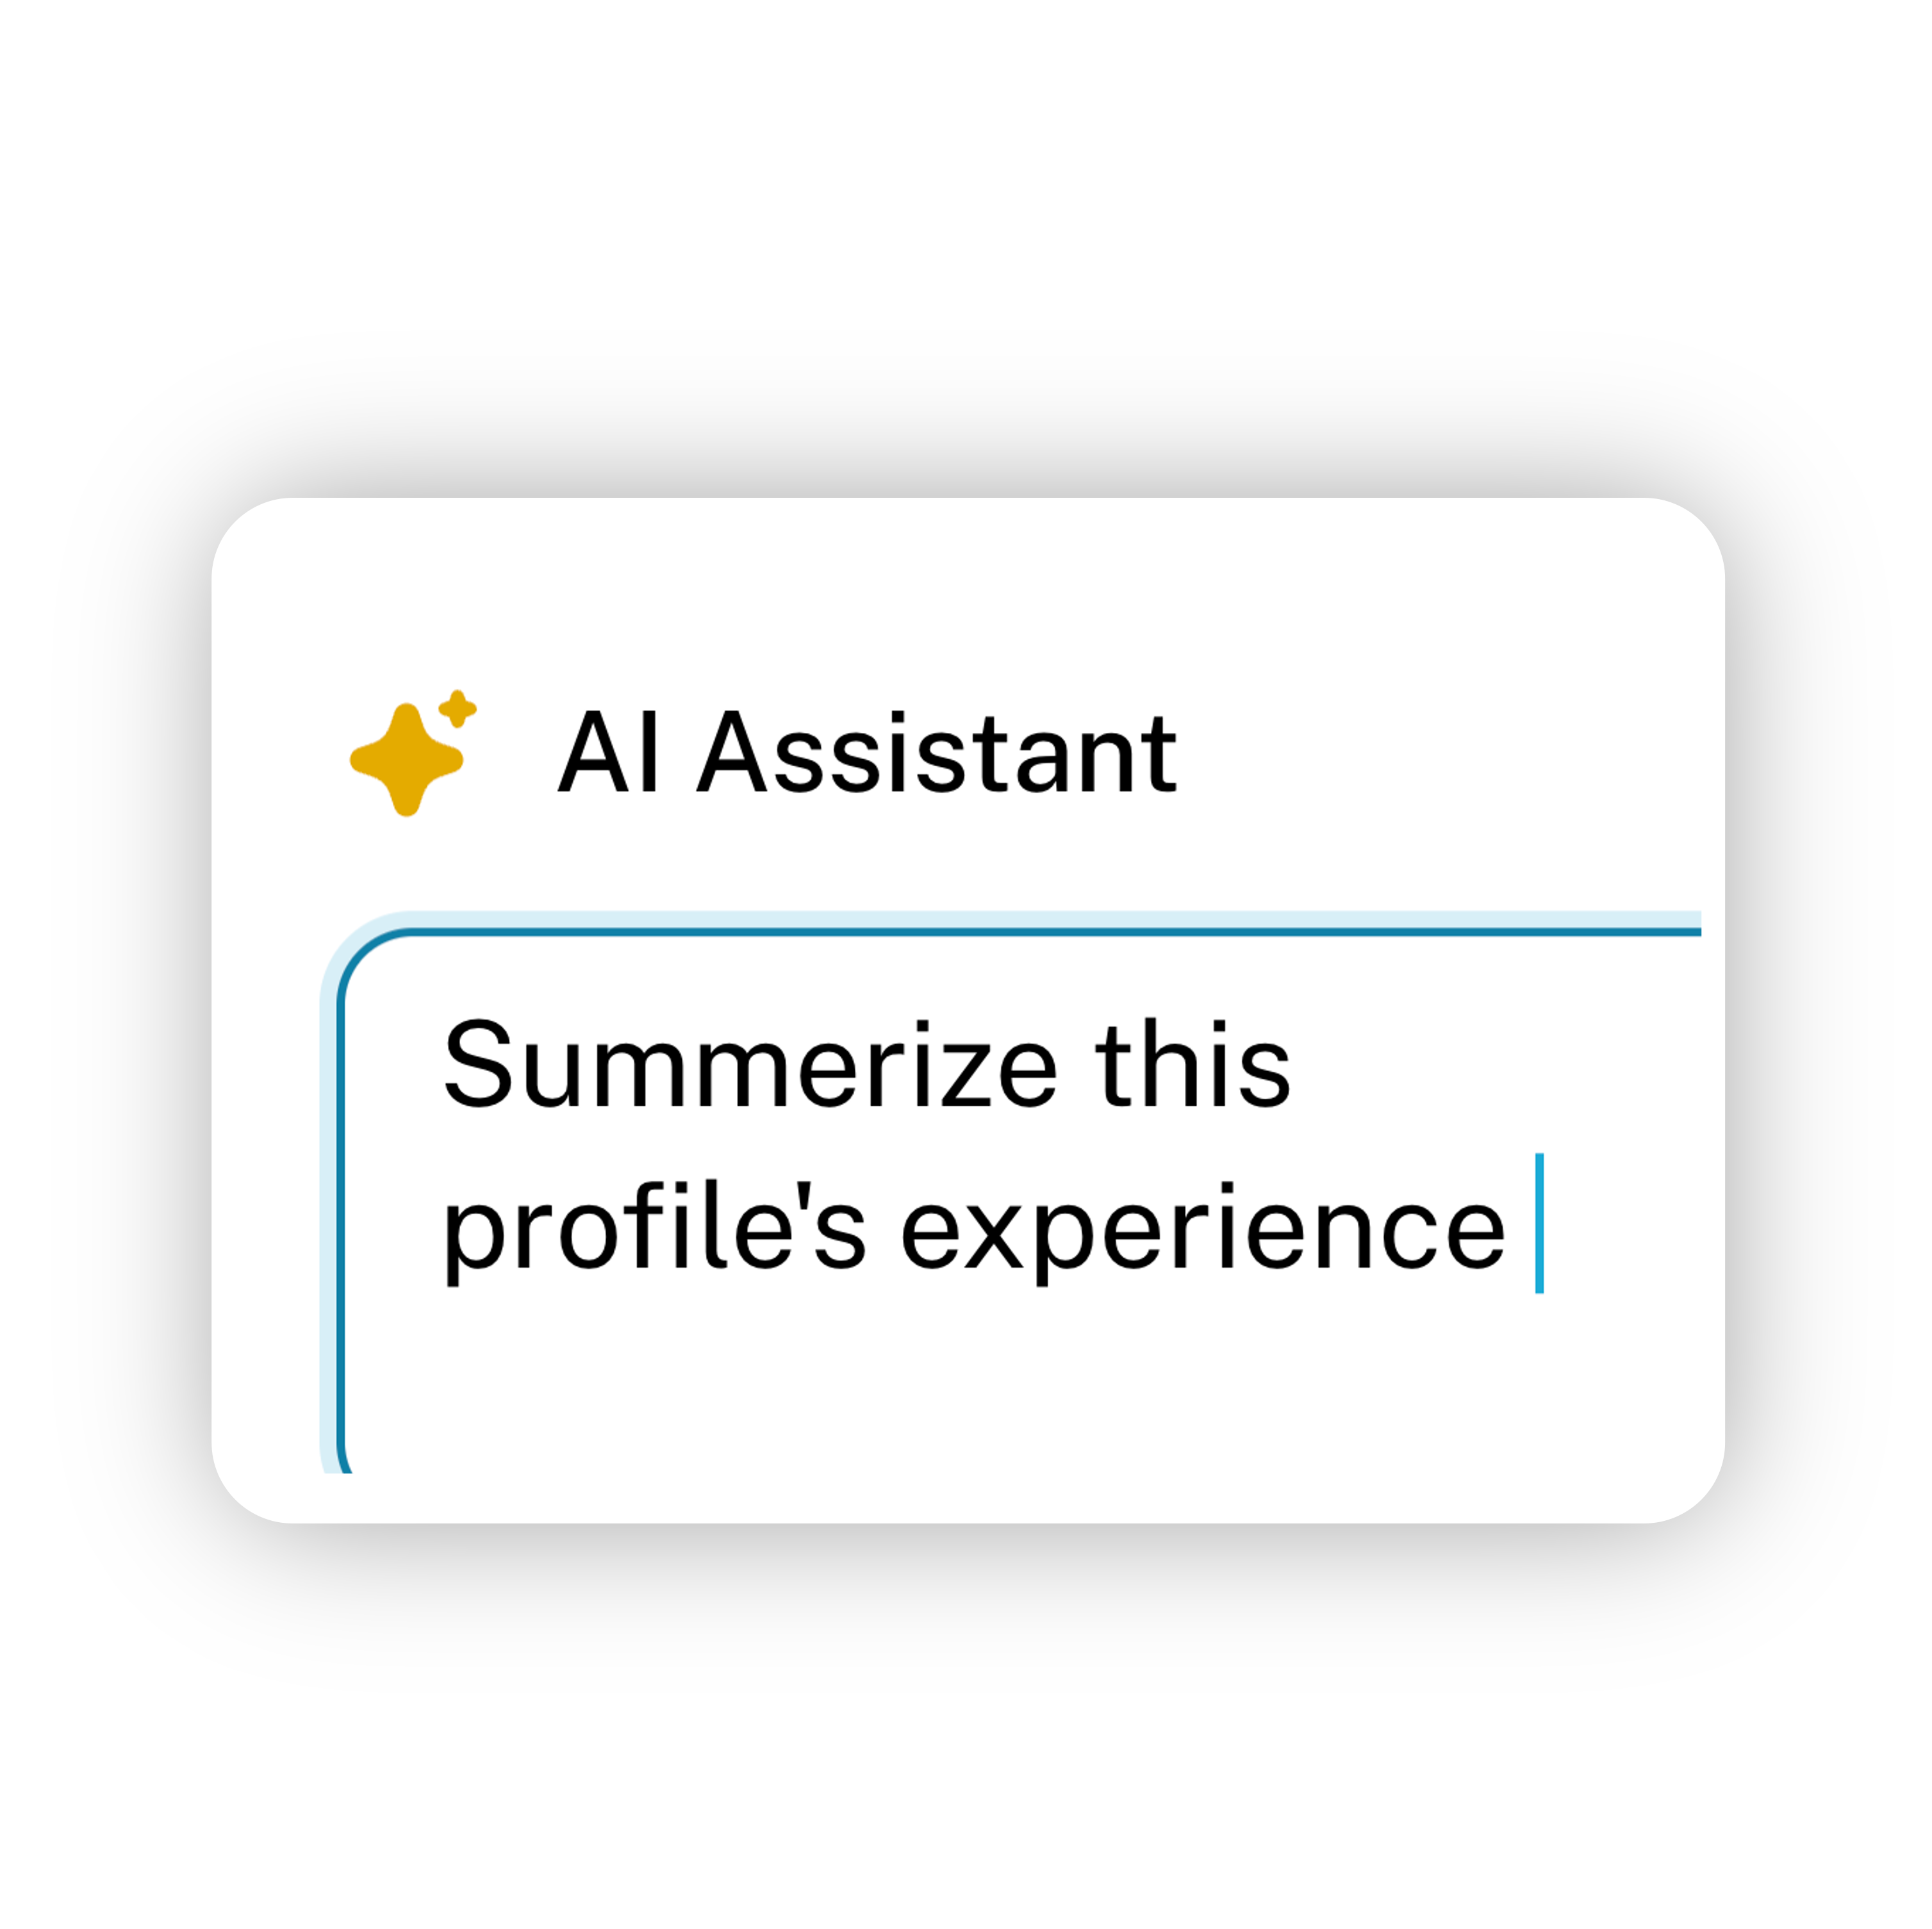
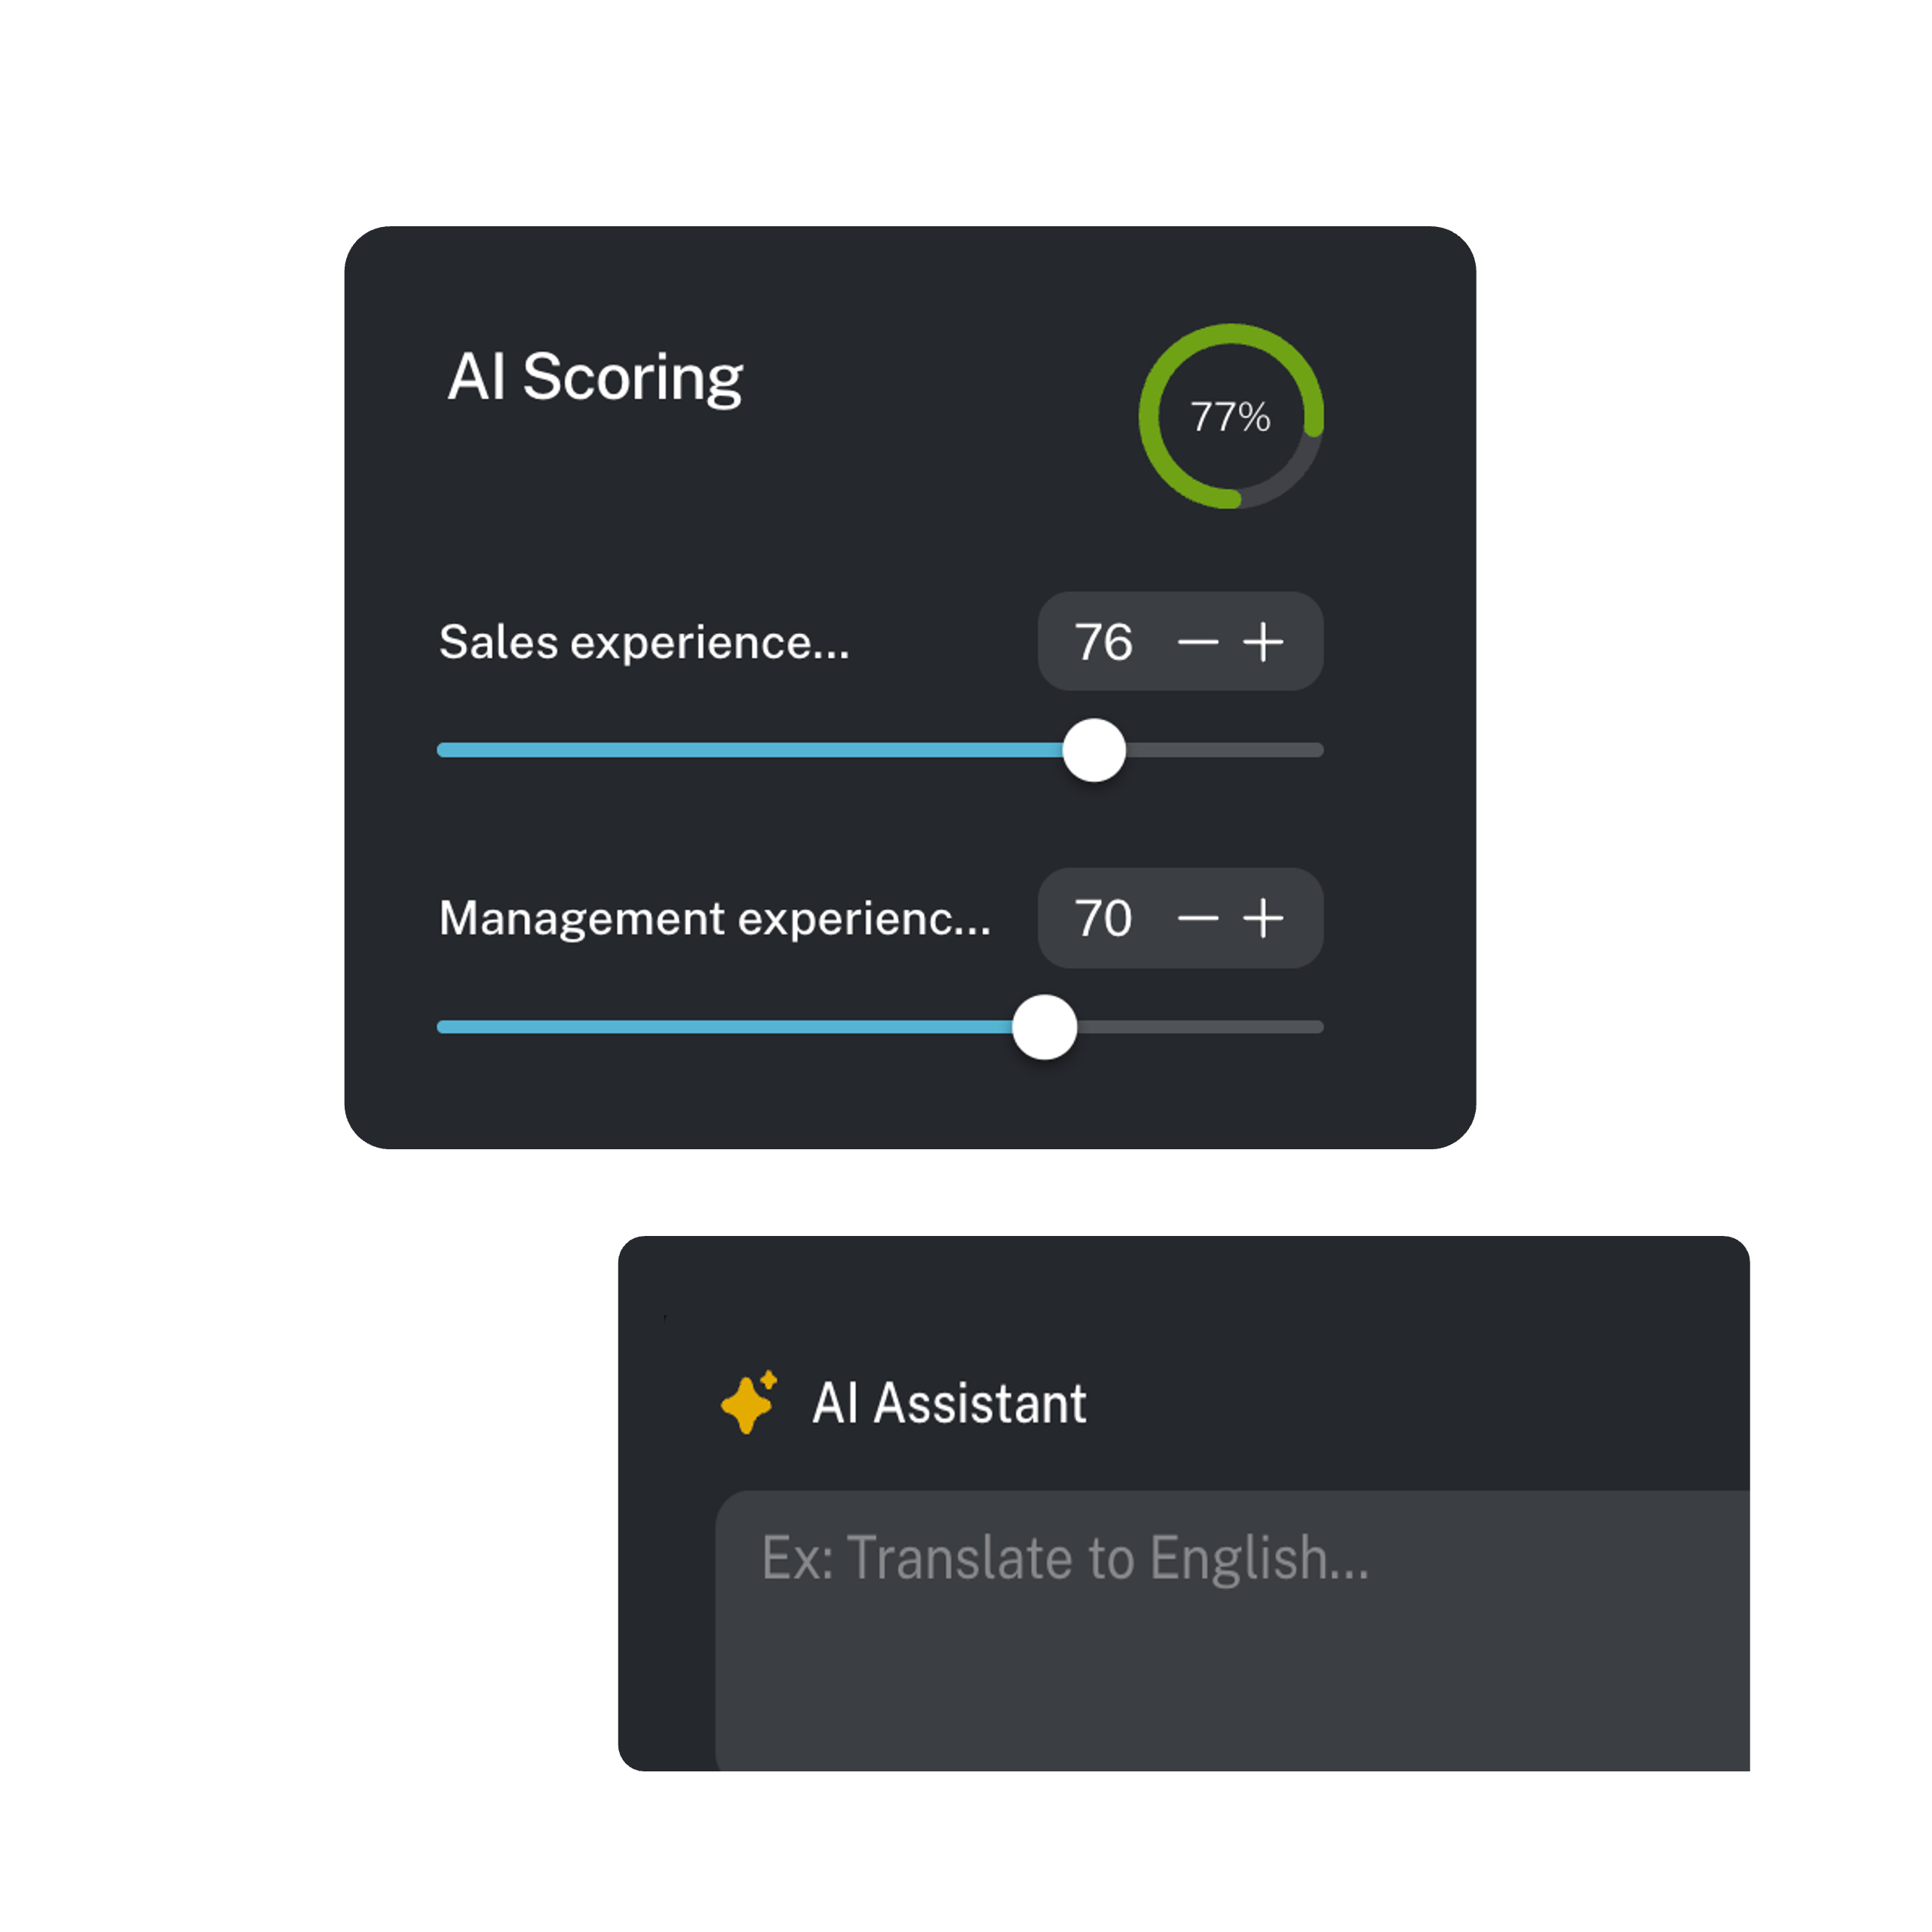
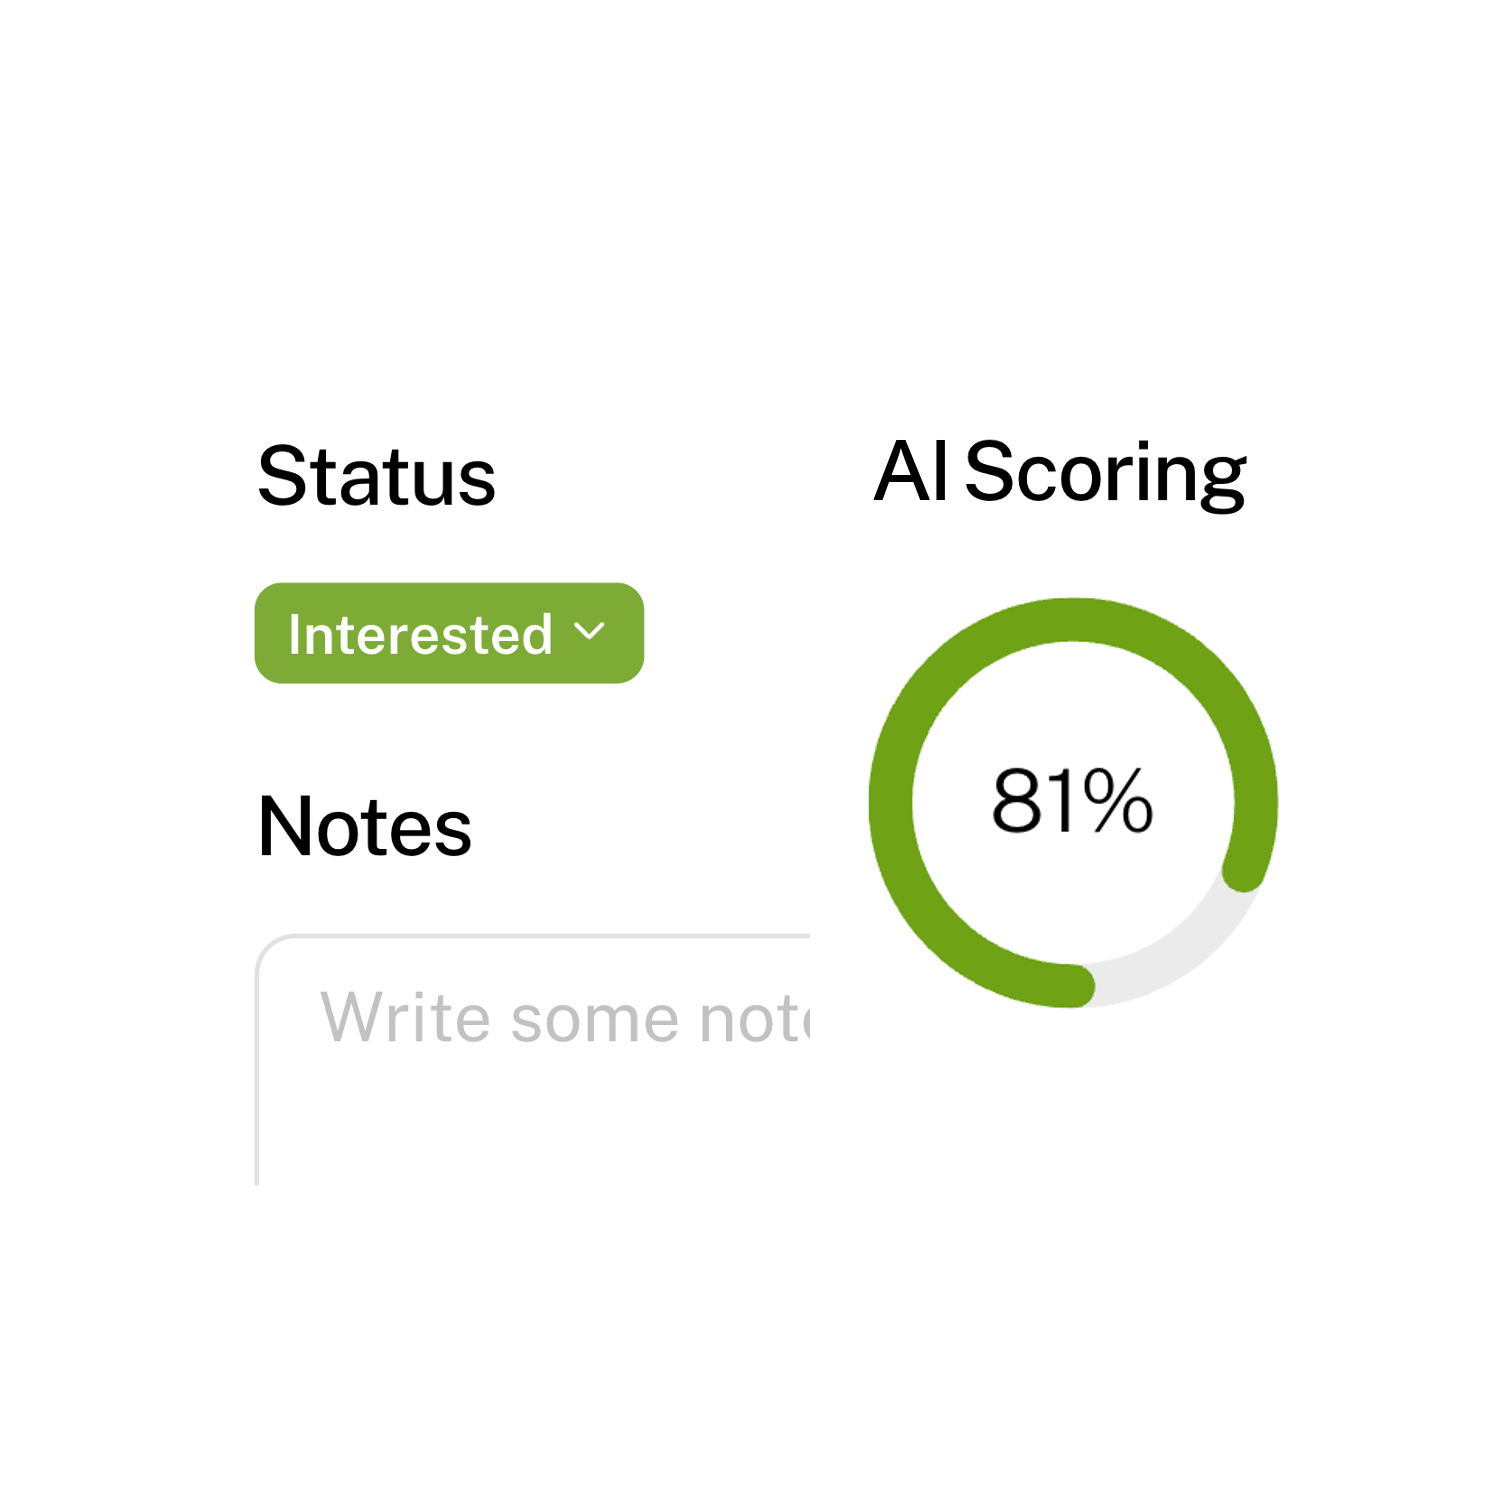
Work faster with AI
Everywhere you need it, never in your way. AI scoring, CV parsing, note editing and profile recommendations help your team deliver more with less effort.

Intelligence platform
Launch assignments faster with Kiwano Lab: Generate target company lists and add them to your projets. / Build boolean LinkedIn queries / Analyse your client's market, all based on natural language prompts.
Learn more about Kiwano Lab.
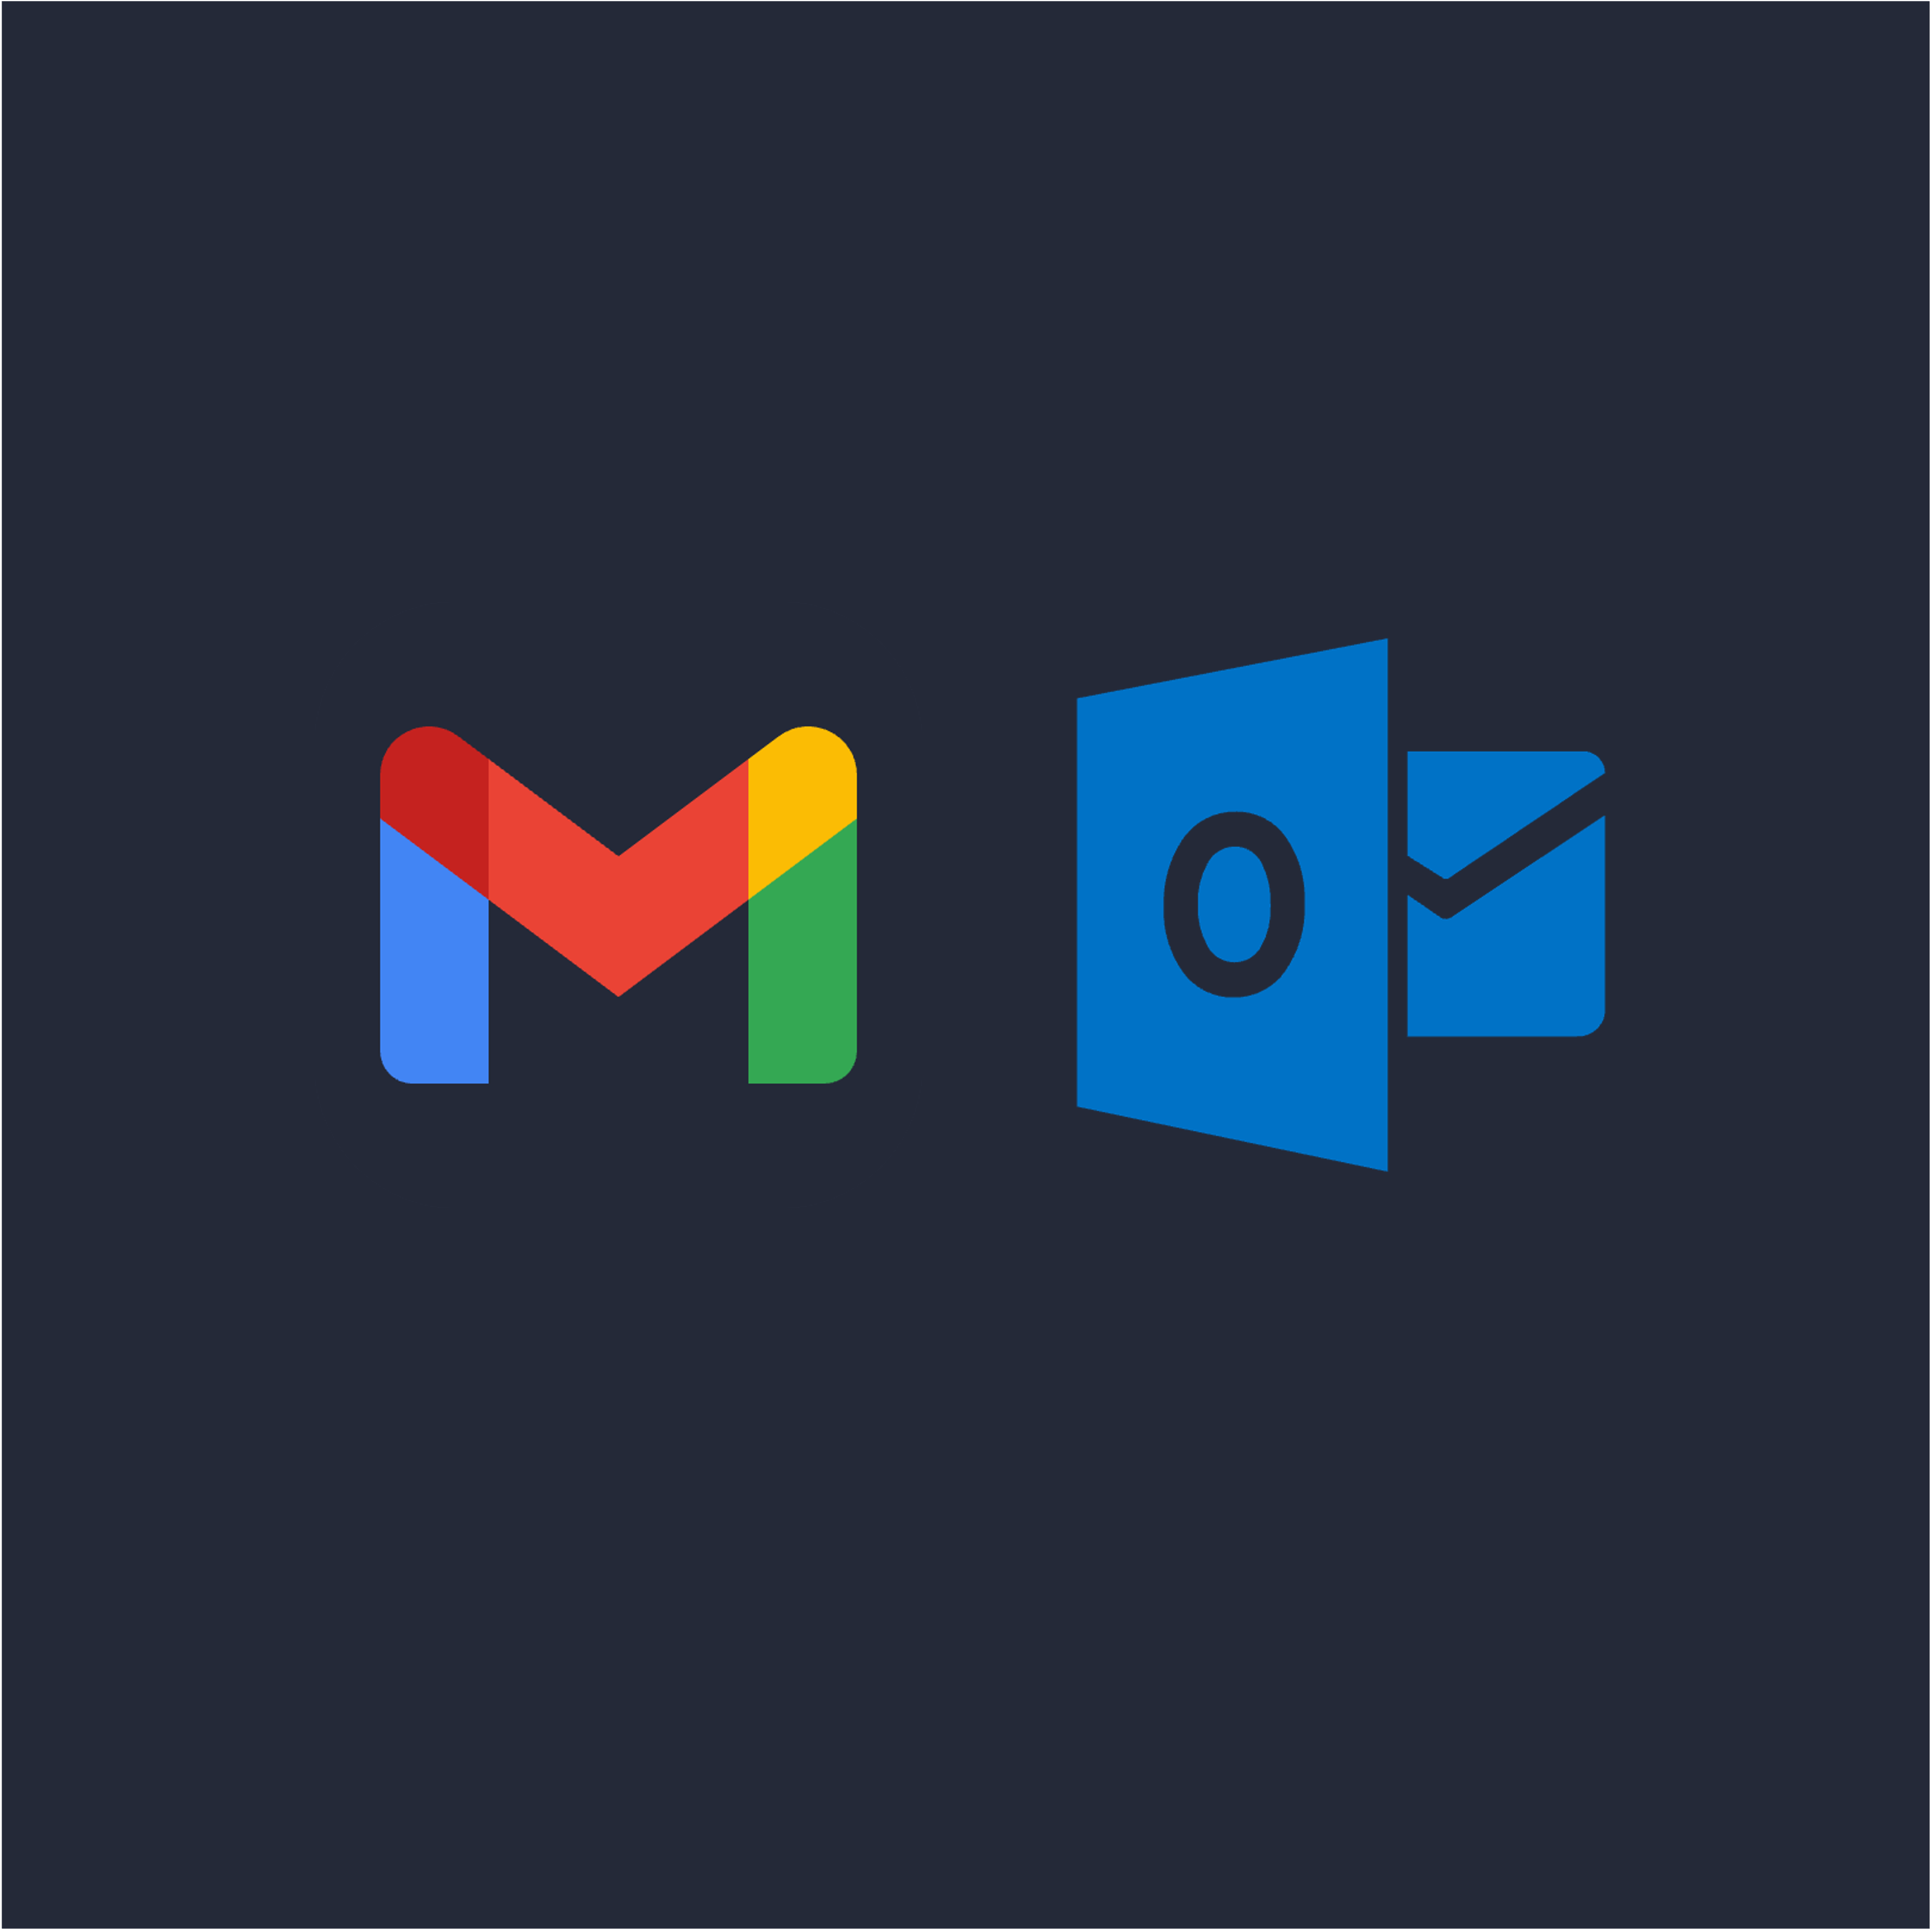
Email & Calendar integration
(Coming soon)Simplify & Automate your candidate communication and interview scheduling by connecting your email and calendar (Gmail and Outlook supported).

What Clients Say
We are a trusted partner of boutique search firms all over Europe, since 2020. Here's how they have transformed their operations with Kiwano.

Data compliance
Kiwano is designed specifically for boutique search firms operating in Europe, with data compliance and privacy built into every feature.
EU-hosted data.
All your data is securely stored and processed within Europe.
GDPR Automation.
Send consent requests automatically offering candidates access to a dedicated data management portal. Manage candidates' data preferences in builk.
AI Act Ready.
All AI features are transparent, human-controlled, and fully aligned with upcoming EU regulations.
Pricing
Flexible pricing adapted to your use case.
Essential.
All the basic features needed to manually organize your workflow.
- Profiles, Projects & Client management
- Add invoices manuallly (up to 20 per year)
- Collaboration
- Analytics
- Advanced search
- Profile scoring (manual)
Pro.
Save time & Eelevate your search operations with the latest advancements in AI & automation.
- AI assistant for Notes
- Add invoices automatically
- Intelligence platform (Kiwano Lab)
- Find contact details
- AI Scoring
- Auto-update profile experience
Tell us about your needs or ask any questions. We'll get back to you within an hour.